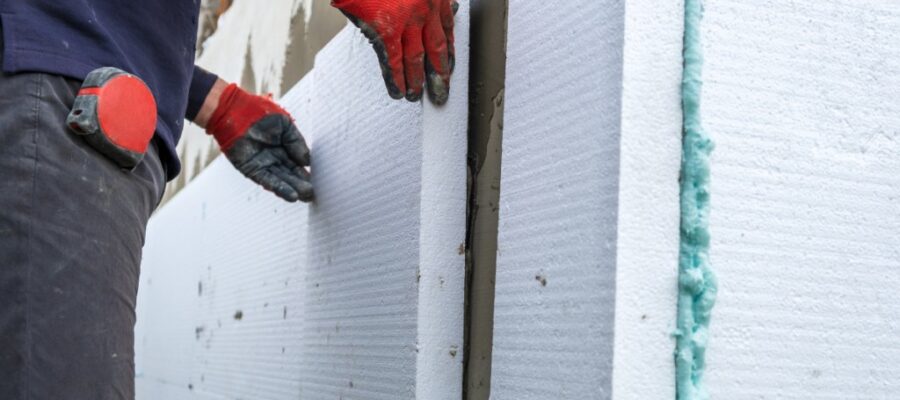
Insulating a house with polystyrene may seem like a demanding job at first, but with the right tools and a little know-how, it can become a practical and rewarding project. Done correctly, it helps improve indoor comfort, reduce heat loss, and create a more energy-efficient home.
Below is a straightforward guide to insulating a house with polystyrene, step by step, with the main materials, the most common types of boards, and a few useful tips for a cleaner finish.
Why choose polystyrene?
Polystyrene is one of the most widely used insulation materials because it combines good thermal performance with an affordable price. It is lightweight, easy to handle, resistant to moisture in many applications, and durable enough for long-term use when installed properly.
It is especially suitable for exterior walls, but it can also be used in other areas of the building envelope, such as attics or basements, depending on the type of product selected and the specific conditions of the space.
Types of polystyrene
In construction, polystyrene comes in several forms, each with its own strengths and recommended uses. Choosing the right type matters, because not every board is meant for the same environment or load requirements.
Expanded Polystyrene (EPS)
Also known as white expanded polystyrene, expanded polystyrene offers solid thermal insulation at a relatively low cost. It is commonly used for insulating walls, roofs, and floors, making it one of the most accessible options for residential projects.
EPS is appreciated for being easy to cut and install. For many standard insulation works, it provides a practical balance between performance and budget.
Extruded Polystyrene (XPS)
More dense and rigid than EPS, extruded polystyrene offers greater resistance to moisture and a lower thermal conductivity. That makes it a strong choice for areas where both insulation and durability are important.
XPS is commonly used in foundations, roofs, and exterior walls, especially where exposure to damp conditions or higher compressive strength is a concern. In practice, it is often selected for projects that require a more robust insulation layer.
Graphite Polystyrene
Graphite polystyrene is a version of expanded polystyrene with graphite added to improve its insulating properties. Compared with standard EPS, it offers better thermal performance, which can be especially valuable when insulation thickness must be kept under control.
This makes it a very useful option for exterior insulation systems, particularly when the available space is limited but a higher insulation level is still desired.
Materials and tools you will need
Before starting, make sure you have everything ready. Preparing the materials in advance makes the job smoother and helps avoid interruptions once installation begins.
- Polystyrene boards
- Special adhesive for polystyrene
- Mechanical fixings or anchors
- Tape measure, spirit level, and cutter
- Primer and skim coat for finishing
If you want a cleaner result, it is also helpful to have a mixing bucket, a trowel or notched spreader, and a tool for smoothing the finishing layer. Good preparation saves time and reduces waste.
Step 1: Prepare the surface
The first step is to prepare the wall or surface where the polystyrene will be applied. It should be clean, dry, and as even as possible. Dust, loose material, grease, and any areas that may weaken the bond should be removed before installation begins.
Any holes, cracks, or uneven spots should be repaired in advance. A stable base is essential, because insulation boards will only perform well if they are fixed onto a surface that is properly prepared.
Step 2: Apply the adhesive
Apply adhesive to the polystyrene board in dots or strips, depending on the product instructions and the condition of the wall. The goal is to achieve a secure and even bond without using excessive adhesive.
For corners and edges, the adhesive should cover a larger portion of the board to improve contact and stability. This helps the board sit firmly against the wall and reduces the risk of gaps.
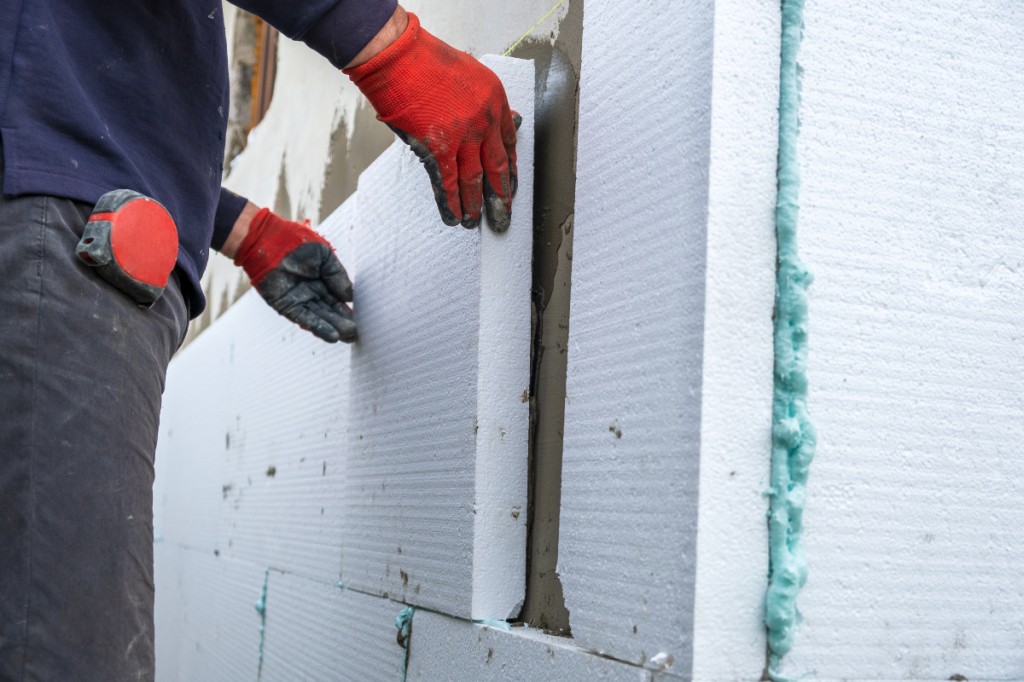
Step 3: Install the polystyrene boards
Position the board on the wall and press it firmly into place. Use a spirit level to make sure it is aligned correctly before continuing with the next board. Accurate placement at the beginning makes the rest of the job much easier.
Continue board by board until the entire surface is covered. Try to keep the joints tight and the rows even, because a consistent layout improves both the appearance and the overall effectiveness of the insulation layer.
Step 4: Add mechanical fixings
Once the adhesive has dried, secure the boards mechanically with anchors or fixings. This step adds extra stability and helps prevent the boards from detaching over time, especially on exterior walls exposed to weather or temperature changes.
The exact number and placement of fixings depends on the project and the type of wall, but the aim is always the same: to reinforce the adhesive bond and ensure long-term safety and durability.
Step 5: Apply primer and skim coat
To achieve a smooth, durable finish, apply a primer over the insulated surface. After the primer has dried, use a skim coat to level the surface and cover joints, small imperfections, and transitions between boards.
This finishing stage is important not only for appearance but also for preparing the surface for the next decorative layer. A well-executed skim coat helps create a more uniform result and improves the overall quality of the insulation system.
Useful tips for better results
- Measure twice and cut once. Check every board carefully before cutting so you avoid wasted material.
- In humid weather, allow extra drying time for the adhesive and finishing layers.
- Wear protective equipment, including gloves and safety glasses, during the work.
- Plan the layout before you start so you can reduce awkward cuts and keep the surface neat.
- Work methodically from one section to the next to maintain alignment and consistency.
Insulating with polystyrene is not only an effective way to improve the thermal comfort of a home, but also a project that can bring a real sense of satisfaction when completed properly. With careful preparation, the right materials, and attention to detail, you can create a warmer, more comfortable, and more efficient living space.
By following these simple steps, the work becomes easier to manage and the final result more durable. A well-insulated house is easier to heat, more pleasant to live in, and better protected against temperature fluctuations throughout the year.
latest posts published
Essential Elements That Cannot Be Missing from Scandinavian Decor

17 Original White Wood Kitchen Design Ideas

What Is Minimalism as a Lifestyle, and What Are the Benefits of This Way of Living?
Colors for Modern Kitchens: Ideas and Trends

From hanging wreaths to stockings full of treats: discover 10 ideas for decorating your Christmas fireplace mantel

5 DIY Christmas Decoration Ideas
5 Ways to Create Functional Zones by Separating the Kitchen from the Living Room
30 Black Kitchen Decorating Ideas
5 Roulette Strategies Allowed in Any Casino